

Introduction
Property buyers in India now start their search on a phone, not by walking into a broker’s office. They compare listings, check prices, and look at photos before calling anyone. If your business does not appear in that search, the lead goes to a competitor.
Creating a real estate website India buyers can trust is simpler in 2026 than most people expect. WordPress powers a large share of Indian property sites, hosting is cheap, and listing plugins handle most of the hard work. The real challenge is building a site that earns trust, ranks locally, and turns visitors into enquiries.
Why a Real Estate Website Matters in 2026
India’s property market has moved firmly online. Large portals dominate generic searches, but buyers also search for local brokers by name and locality. A search like “2 BHK flat in Wakad Pune” is exactly where a focused local website can rank and win enquiries.
A website builds your brand, because buyers trust a broker with a professional site and real photos far more than a bare phone number on a portal. It collects leads around the clock, and it reduces wasted calls, because clear pricing and photos filter out casual browsers.
Step 1: Choose the Right Platform
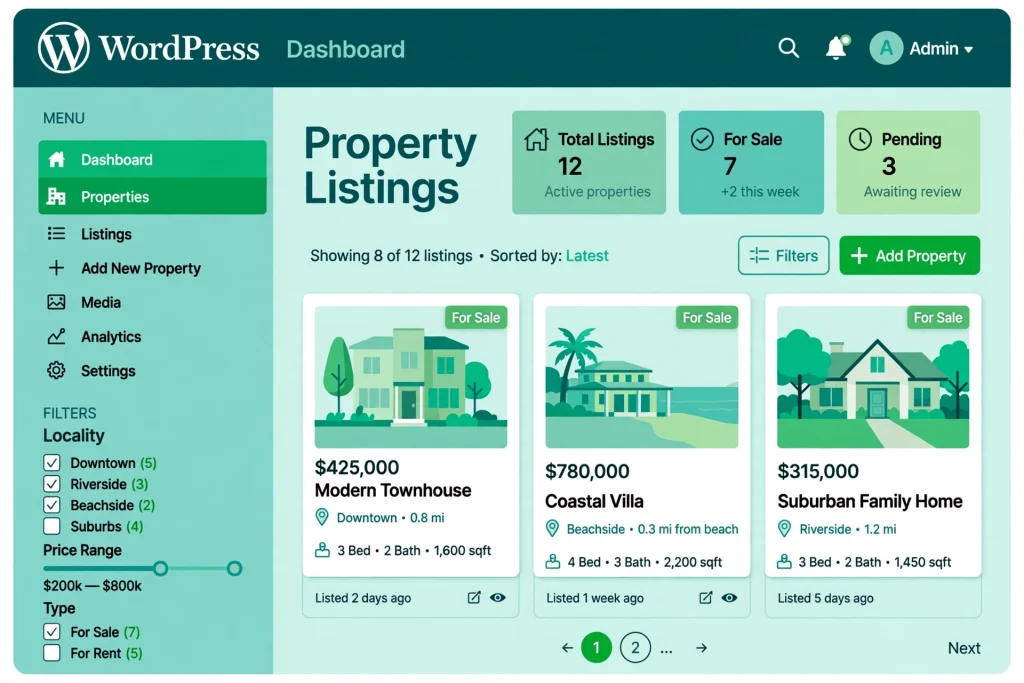
WordPress is the best choice for most brokers and builders. You own the site, hosting is cheap, and plugins handle listings, search filters, maps, and enquiries. Themes built for property sites already include the layouts buyers expect.
Website builders such as Wix and Squarespace are quick to launch and need no technical skill, and they suit a single broker who wants a clean brochure site. The limits appear later: weaker local SEO and fees that rise as you add listings.
Custom development suits portals and large builders who need features no plugin offers, from Rs 2 lakh upward. For most brokers, this is unnecessary in 2026. Start with WordPress and invest in custom work only when revenue justifies it.
Step 2: Pick a Domain, Hosting, and Theme
Choose a short domain that includes your brand or city, such as punekhomes.com. A .com or .in domain costs roughly Rs 700 to Rs 1,000 per year. Avoid long names with hyphens.
Shared hosting is enough to start. Plans from Indian hosts start around Rs 119 to Rs 199 per month and include a free SSL certificate. Pick at least 10 GB storage for property photos.
Use a theme designed for property sites, such as Houzez, RealHomes, or WP Residence. A good theme includes listing templates, search filters for price, BHK, and locality, map integration, and agent profiles. A premium theme costs roughly Rs 4,000 to Rs 6,000.
Step 3: Install the Essential Plugins
Plugins turn WordPress into a property platform, so install only what you need.
- Real estate plugin: Essential Real Estate or Estatik, for listings with price, area, BHK, and location fields.
- SEO plugin: Rank Math or Yoast SEO, for the focus keyword, title, and meta description on every page.
- Contact form: WPForms or Contact Form 7, for enquiry forms on every listing.
- Caching and speed: A caching plugin plus image optimisation, because slow sites lose mobile buyers.
- Security: A security plugin, regular backups, and a captcha on every form.
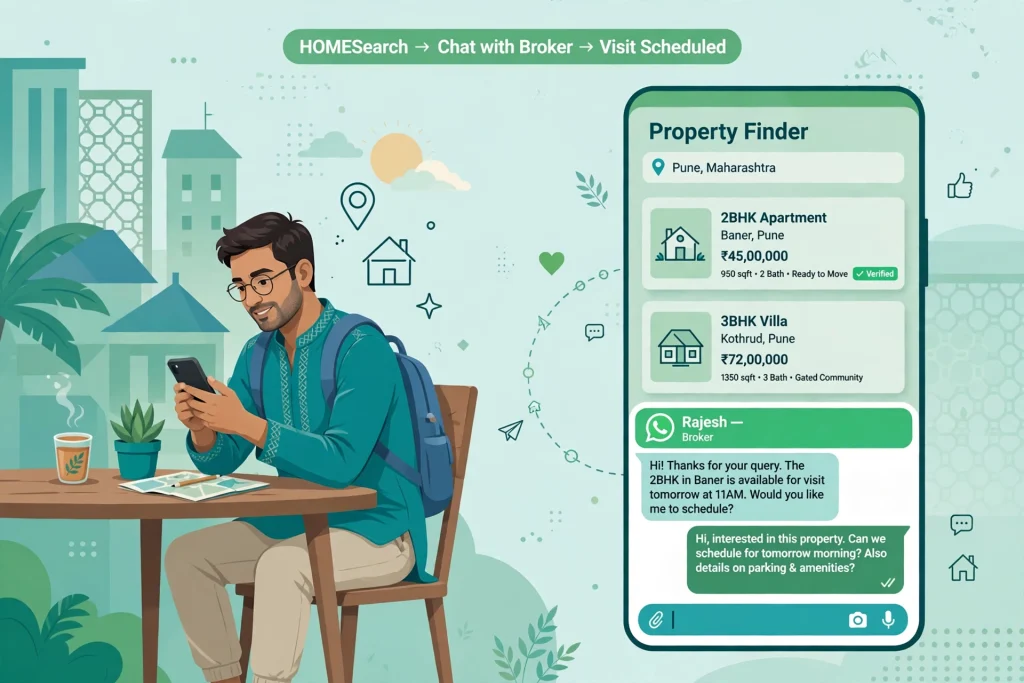
- WhatsApp button: A floating WhatsApp chat button, because many Indian buyers prefer WhatsApp to calls.
Step 4: Build Your Core Pages
Build these pages before the first listing goes live.
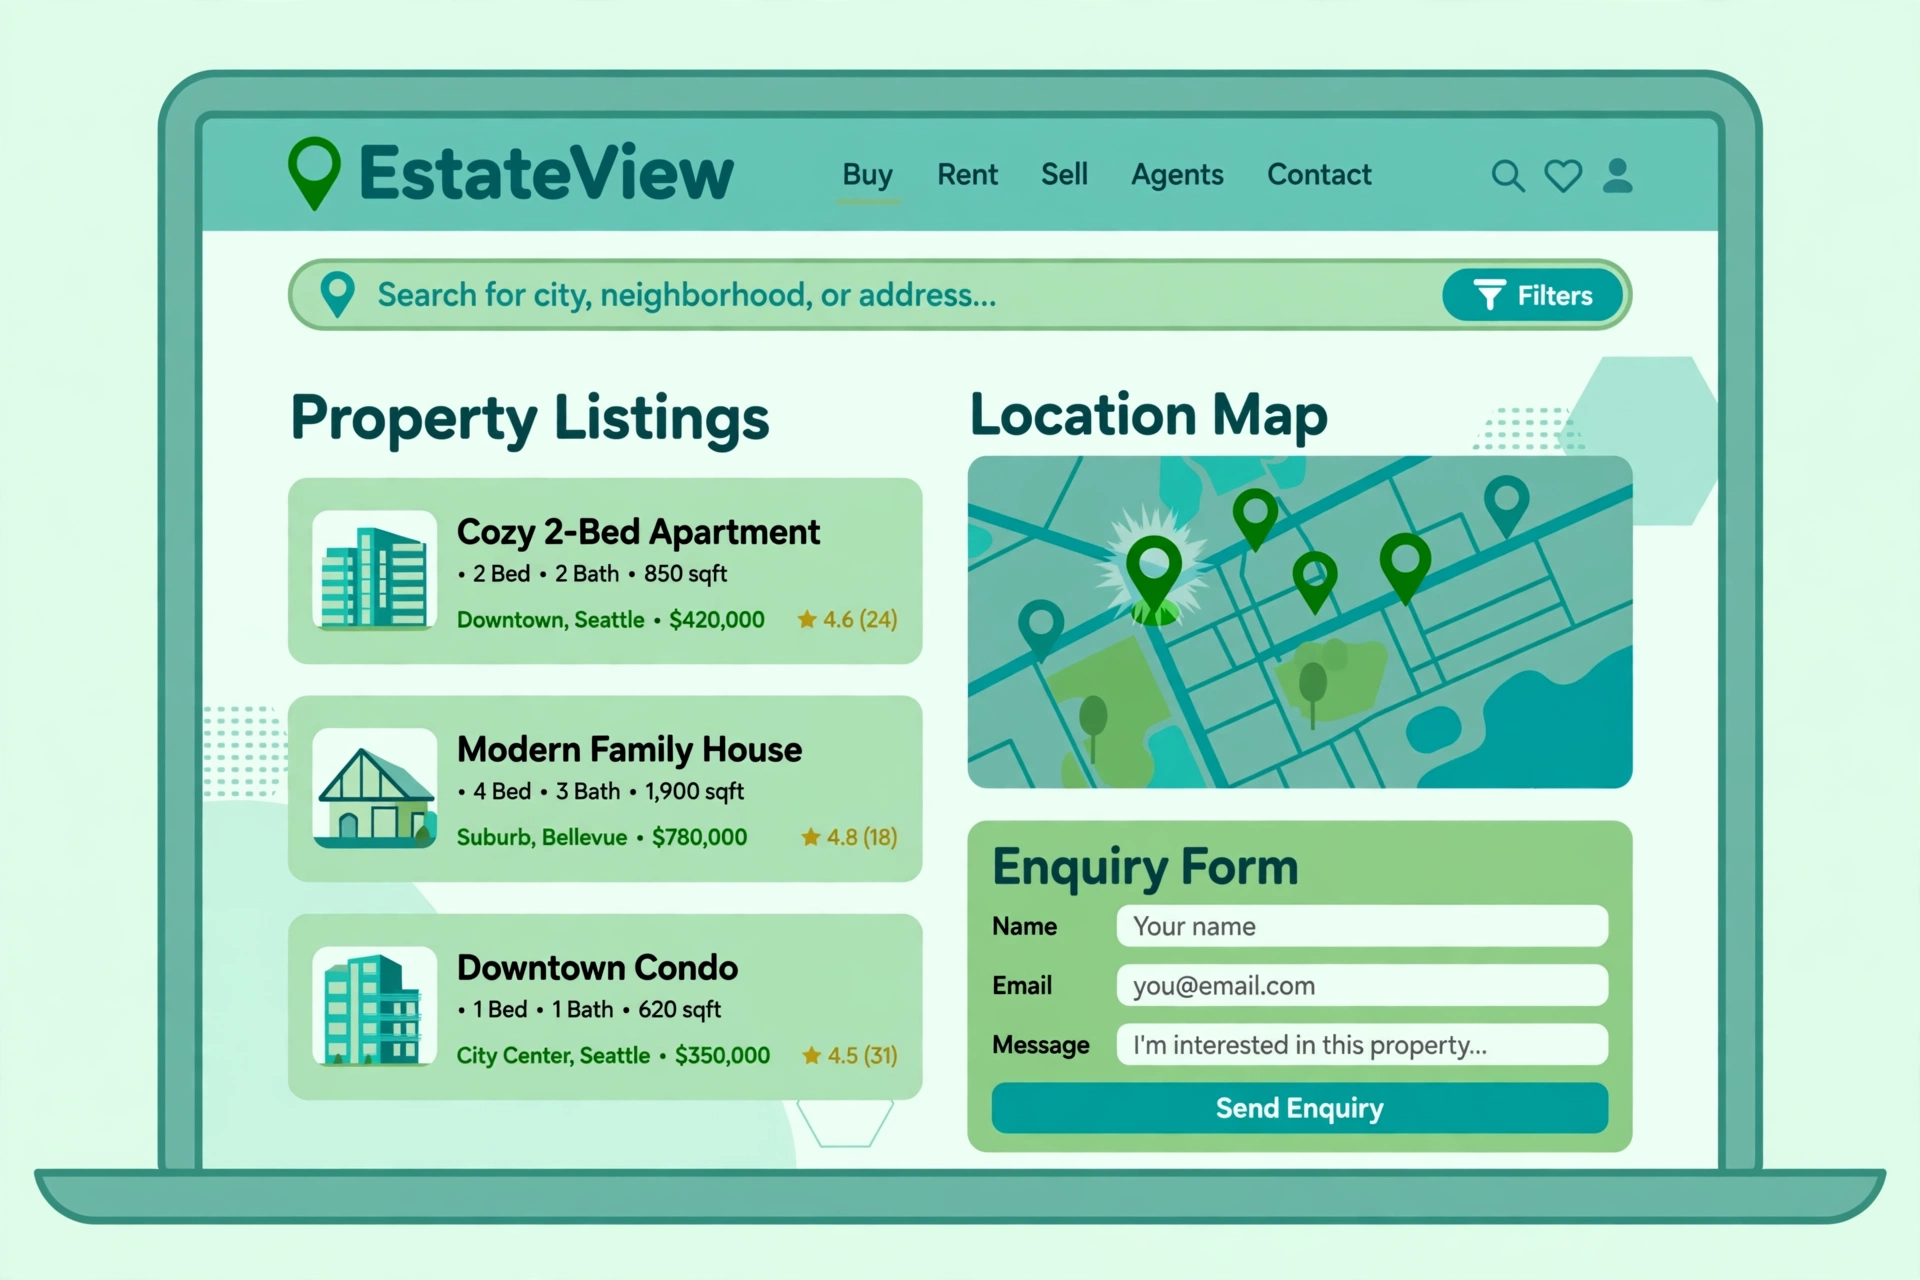
- Homepage: Hero section with a property search bar, featured listings, and popular localities.
- Listings page: Searchable by location, budget, BHK, and type, with a photo, price, locality, and area on each card.
- Locality pages: One page per area you serve, such as “Flats in Hinjewadi Pune”, covering connectivity, schools, hospitals, and average prices. These are your best local SEO asset.
- About page: Your story, experience, RERA registration number, and a real photo of you or your team.
- Contact page: Address, phone, WhatsApp, email, office hours, a map, and an enquiry form.
- Blog: Guides and market updates that attract search traffic.
Each page should load in under three seconds on mobile. Compress every photo before uploading.
Step 5: Add Listings That Sell
A listing is a sales page, not a database row. Use 8 to 12 clear, well-lit photos per property: exterior, living room, kitchen, bedrooms, bathrooms, and balcony. For under-construction properties, use site photos, floor plans, and renders, and label them honestly.
Fill in complete details: price, carpet area, configuration, floor, facing, furnishing, parking, maintenance, and possession date. Missing basics force buyers to call for information they expected on the page.
Write two or three short paragraphs about the property and the locality, and mention who it suits. Pin the property on Google Maps, and put an enquiry form and WhatsApp button on every listing. Offer site visit booking, because a visit request is a stronger lead than a price question.
Step 6: Understand RERA Rules Before You Publish
The Real Estate (Regulation and Development) Act, 2016, known as RERA, applies to most property advertising in India. Every project you advertise must display its RERA registration number, linked to the state RERA portal. Never advertise an unregistered project as RERA approved.
Do not promise possession dates, amenities, or approvals the builder has not confirmed, because your website copy counts as advertising. Quote carpet area as defined under RERA, not super area, and label renders clearly.
In many states, agents must register with the state RERA authority, so check your state’s rules and show your number on your About and Contact pages. A site that displays registration numbers openly converts better, because buyers feel safe enquiring.
Step 7: Local SEO for Localities
Ranking nationally is a battle you do not need to win. Ranking for your city and localities brings the buyers who actually call.
Create and verify a Google Business Profile for your office, and encourage happy clients to leave reviews. Build a useful page for each area you serve, with average prices, upcoming infrastructure, schools, and hospitals.
Use phrases buyers actually type, such as “3 BHK flat in Baner Pune”, in page titles and headings. Keep your business name, address, and phone number identical on your website, Google Business Profile, and every directory listing. Publish one locality guide per week. Expect three to six months before locality pages rank, but once they do, they deliver enquiries without ad spend.
Step 8: Set Up Lead Generation and Follow-Up
Capture leads with enquiry forms, a WhatsApp button, click-to-call, and site visit booking on every page. Keep forms short: name, phone, budget, and locality.
Respond fast, ideally within 15 minutes during working hours, because the first responder wins most enquiries. Before a site visit, qualify the buyer with a five-minute call confirming budget, localities, timeline, and loan status.
Track every lead in a spreadsheet or a free CRM such as HubSpot or Zoho. Most buyers take weeks or months to decide, so send matching listings on WhatsApp and follow up politely. Every month, check which pages brought enquiries and publish more of what works.
Cost Breakdown: Broker vs Builder vs Portal
Costs for a WordPress-based site in 2026:
| Item | Independent broker | Small builder | City portal |
|---|---|---|---|
| Domain | Rs 700 to Rs 1,000 per year | Rs 700 to Rs 1,000 per year | Rs 700 to Rs 1,000 per year |
| Hosting (first year) | Rs 1,500 to Rs 3,000 | Rs 3,000 to Rs 6,000 | Rs 6,000 to Rs 12,000 |
| Premium theme | Rs 4,000 to Rs 6,000 | Rs 4,000 to Rs 6,000 | Rs 5,000 to Rs 8,000 |
| Essential plugins | Rs 0 to Rs 3,000 | Rs 0 to Rs 5,000 | Rs 5,000 to Rs 15,000 |
| Photos and content | Rs 0, self-shot | Rs 5,000 to Rs 15,000 | Rs 10,000 to Rs 30,000 |
| Development help | Rs 0 to Rs 10,000 | Rs 10,000 to Rs 30,000 | Rs 30,000 to Rs 1,00,000 |
| First-year total | Rs 6,000 to Rs 25,000 | Rs 25,000 to Rs 65,000 | Rs 60,000 to Rs 1,75,000 |
After the first year, costs drop to mainly domain, hosting, and plugin renewals, typically Rs 5,000 to Rs 15,000 for a broker. A fully custom portal from an agency costs Rs 1.5 lakh to Rs 8 lakh.
Ongoing Maintenance
Update listings weekly, remove sold properties promptly, and mark them as sold rather than deleting the page, so the URL keeps its search value. Refresh prices monthly, because outdated prices lose a buyer’s trust.
Update WordPress, your theme, and plugins monthly, and back up before every update. Automate weekly backups to cloud storage. Check speed and mobile display quarterly on a budget Android phone. Budget two to four hours per week, or pay a freelancer Rs 3,000 to Rs 8,000 per month for updates, backups, and uploads.
Common Mistakes to Avoid
Do not copy listings from portals. Duplicate content does not rank, and copied photos can create legal trouble. Write your own descriptions and use your own photos. Do not hide prices behind “price on request”.
Do not ignore mobile. More than 80 percent of Indian property searches happen on phones. Do not upload 5 MB photos straight from a phone camera; compress images before uploading. Do not answer leads late: a lead answered after two days is usually a lost lead.
The same WordPress approach works for other business websites: our guide on how to create a restaurant website in India covers menus, bookings, and local search; our portfolio website guide for Indian creators covers personal branding; and our online course website guide explains payments and student logins.
FAQ
How much does it cost to create a real estate website in India in 2026?
An independent broker pays Rs 6,000 to Rs 25,000 in the first year, including domain, hosting, a premium theme, and setup. A small builder should budget Rs 25,000 to Rs 65,000, and a city portal Rs 60,000 to Rs 1,75,000.
Do I need RERA registration to run a real estate website?
Builders must register projects under RERA, and agents must register in most states before advertising. Your website must display project RERA numbers and your agent registration number.
Which platform is best for a real estate website in India?
WordPress, for most brokers, builders, and small portals in 2026. It offers property listing plugins, strong local SEO controls, affordable hosting, and full ownership.
How long does it take to build a real estate website?
One to two weeks for a WordPress site with a premium theme, including listings and basic SEO. Locality pages, photos, and blog content take another two to four weeks.
How do I get leads from my real estate website?
Combine local SEO with fast follow-up. Build locality pages, keep listings complete with real prices and photos, and add enquiry forms and WhatsApp buttons. Respond within 15 minutes.
Can I add property listings myself without a developer?
Yes. With a real estate plugin and a property theme, adding a listing is like writing a blog post: add photos, fill in price, area, BHK, and location fields, and publish.
Conclusion
A real estate website in India in 2026 is one of the most cost-effective investments a broker or builder can make. For less than a single newspaper advertisement, you can build a site that works around the clock, ranks for your localities, and brings in enquiries every week. The formula is straightforward: choose WordPress, publish honest listings with real photos and prices, follow RERA rules, invest in local SEO, and respond to leads fast.
Start small and start now. Register a domain, set up hosting, install a property theme, and publish your first ten listings with complete details. Add one locality page and one article each week. The brokers who win in 2026 are the ones buyers find first, trust fastest, and reach easiest.
